HTML5 Settings dialog enables the user to control the generated HTML file(s). Before exporting to HTML, the user needs to select a template to use for export, and to set other HTML parameters.
HTML templates design is fully supported with advanced 2D layout, same as in 3D PDF template designer. Behavior Actions can be exported into HTML5/Web GL, enabling users to create interactive 3D experience on the web. Reflection maps, sun light and shadows are applied to 3D models and exported to HTML, giving them more realistic look with smoother camera navigation and better materials appearance. 3D scenes can be exported into html5 files, the same way 3D PDF files are exported.
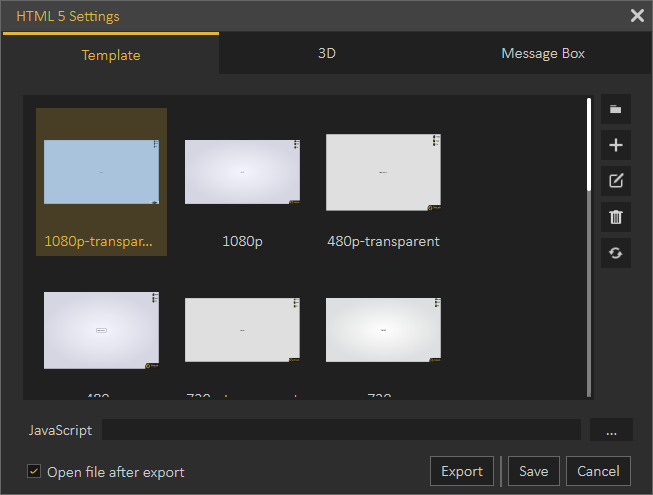
From 3D WebGL under File menu, click Settings to open Html5 Settings dialog, where the user can select the template to use from Template tab. Template tab is where the user can browse the folder containing the HTML template(s) to use, and create New templates, Edit, Delete, or Refresh template(s).
Clicking the New button will open SimLab Designer window. SimLab Designer is a simple application that enables users to design and save their own templates. Page Size under the File menu of the template designer, can be used to expand the background image when the Web GL is set to full screen. For more details about SimLab Designer, select Designer Help from the Settings/Help bar in SimLab Composer.
Document Javascript and 3D Javascript can be added to control both, the HTML document, and the included 3D model.
Java scripts can be applied to designed templates, to make specific actions. Details about Javascript support in WebGL can be found under Help in SimLab Scripting.
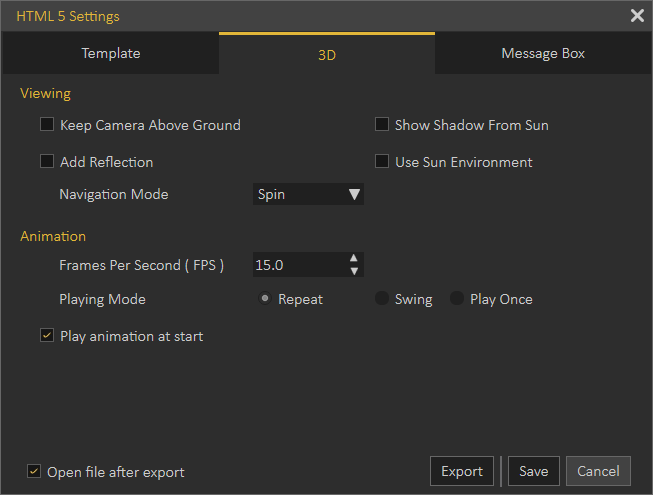
In the 3D tab of the Html5 Settings dialog, the user can control the behavior/properties in the 3D area. Keep Camera Above Ground option, allows architects to prevent viewers of their 3D models from viewing under the buildings, also the user can show / hide the Shadow From Sun, the Reflection and the Sun Environment.
The user can also select the Navigation Mode in the exported HTML file, spin navigation mode adds great navigation experience. The user can set the default navigation mode for the exported 3D WebGL file and can choose to change this default mode from inside the exported 3D WebGL.
For WebGL with animations added to them, the behavior of the animation can be controlled in this tab. Frames Per Second controls the speed of playing animation, where 15 FPS is faster than 5. Playing Mode is the mode to use when the animation reaches an end. The Repeat option will keep on repeating the animation, from beginning to end, as long as the PDF file is open. Swing option will keep on playing the animation, from beginning to end then from end to beginning, as long as the PDF file is open. The Play Once option will play the animation only once.
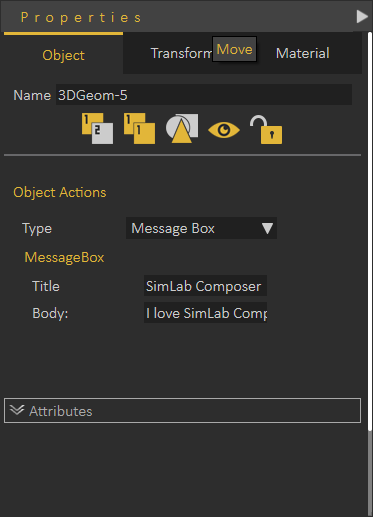
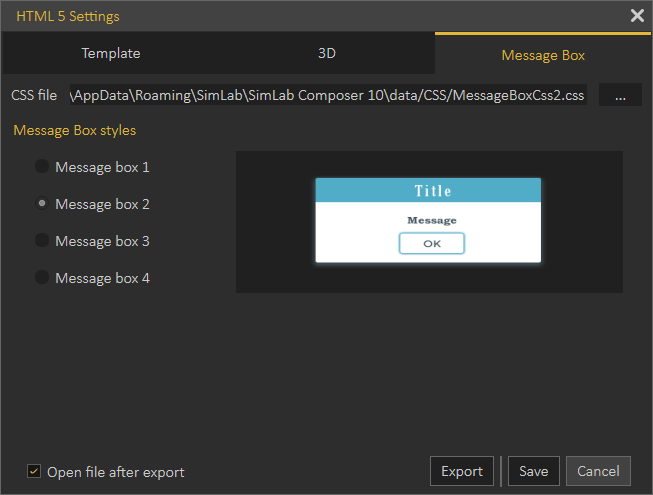
In WebGL exporter, the user can add a message box to the exported HTML by selecting Message Box from Action in Properties Panel for any objects in the scene. Write the message body and give it a title. Here in the message box tab, the user can select the style of the message box which will be displayed in HTML file, there are four styles to select from.
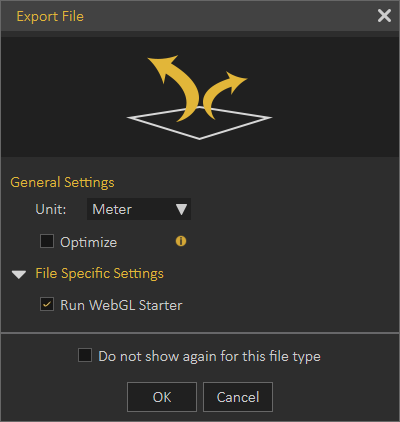
With a template selected, click Export from the menu or in the HTML 5 Settings dialog, then enter the name and location of the (*.html) file and click Save. The Export File dialog will open, where general final settings can be checked. If the Open file after export checkbox is checked then the html file will open.
For 3D scenes with scene states defined the Manage Scene States dialog will appear upon clicking Save. There the user can check the scene states to include in the exported html file, and their order.