Export Button
|
|
PDF Settings
|
|
|
PDF Settings dialog enables the user to control the look and behavior of the exported 3D PDF file(s). To open PDF Settings dialog, click Settings in the 3D PDF button menu. The dialog has five tabs, described below.
|
|
|
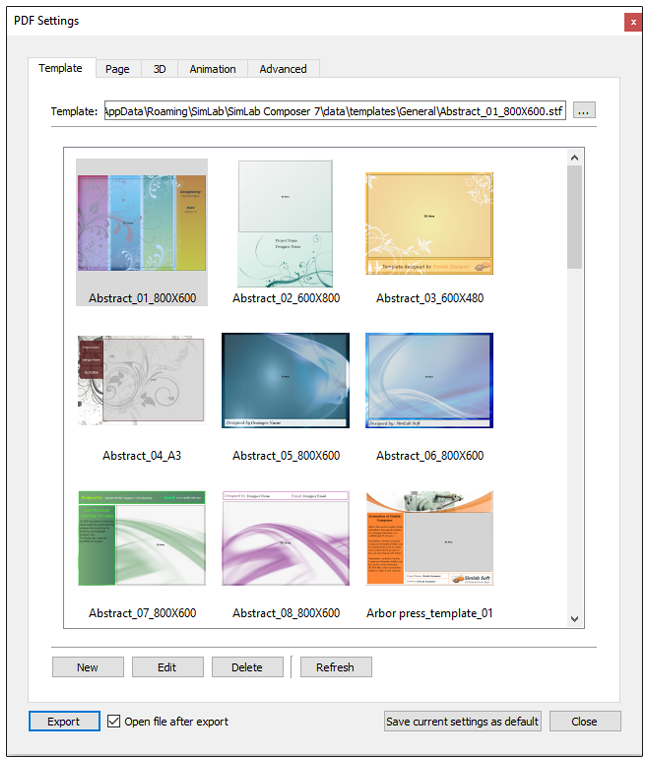
Template Tab
|
|
|
Is where the user can select a 3D PDF template, browse to the folder containing the template to use, create New templates, Edit, Delete, or Refresh template(s). Clicking the New button will open SimLab Template Designer.
|
|
|
 |
|
|
SimLab Designer is a simple SimLab application that enables users to design and save their own templates, to be used when exporting their 3D models into 3D PDF or HTML5/Web GL or iPad/Android. For more details about SimLab Designer, select Designer Help from the Settings/Help bar in SimLab Composer.
|
|
|
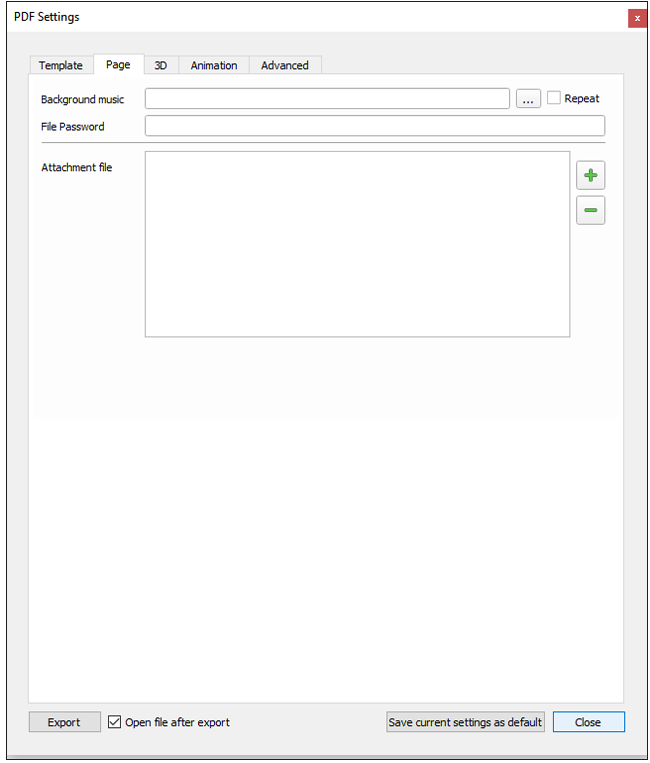
Page Tab
|
|
|
In this tab the user can add background music to the exported 3D PDF file, and a Password for protection, and attachment file . The user can check the Repeat option, to keep playing the music as long as the PDF file is opened.
|
|
|
 |
|
|
|
 |
File Attachments: Attach any number of any file format with your 3D PDF files exported from SimLab Composer.
|
 |
PDF Document Fill Mode: Browse and select any 2D PDF or 3D PDF file document and set it as the Fill Mode for your 3D PDF exported using SimLab Template Designer.
|
|
|
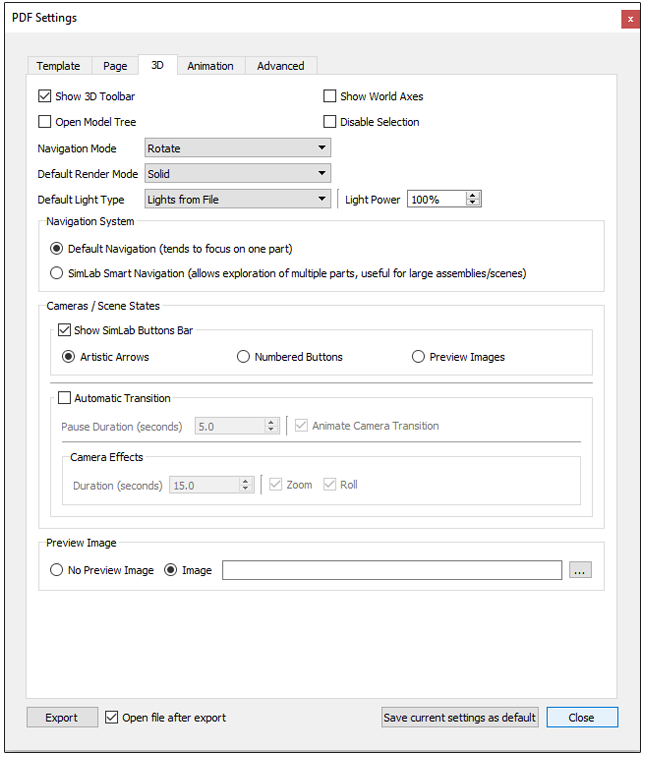
3D Tab
|
|
|
In this tab the user can set the properties of the 3D area in the 3D PDF template.
|
|
|
|
|
|
 |
|
|
Show World Axes: Shows or hides the world axes, in the lower left part of the exported 3D PDF file.
Open Model Tree: Opens the 3D model’s tree in the exported 3D PDF file.
Disable Selection: Disables/enables selection of geometries in the exported 3D PDF file.
Navigation Mode: The user can set the default navigation mode for the exported 3D PDF file to be Rotate, Spin or Walk. The user of the 3D PDF file can choose to change this default mode from inside the exported 3D PDF file.
Default Render Mode: Using this option, the user can select the default render mode to be one of the following (Solid, Solid Wireframe, Transparent, Transparent Wireframe, Illustration, Shaded Illustration, Transparent Bounding Box, Solid Outline, or Bounding Box, Transparent Bounding Box Outline, Wireframe, Shaded Wireframe, Hidden Wireframe, Vertices, Shaded Vertices).
Default Light Type: light type can be one of the following: white, day, night, bright, CAD optimized, cube, or head lamp.
Light Power: increasing this value increases the brightness in the exported 3D PDF file.
Navigation System: in this group the user can set the navigation mode, in the exported 3D PDF file. The navigation mode can be either Default Navigation; which tends to focus on one object in the scene, or SimLab Smart Navigation which is suitable for large scenes.
Cameras/Scene States: in this group the user can check the Show SimLab Buttons Bar option, and choose an option for navigating different cameras/scene states in the exported 3D PDF file. SimLab Buttons Bar can be:
o Artistic Arrows: arrows will be used for navigating between different cameras/scene states.
o Numbered Buttons: numbered buttons will be displayed to represent each camera/scene states.
o Preview Images: preview images of the exported scene states will be displayed to represent each camera/scene states. (Available only in SimLab Composer)
Automatic Transition: this option enables automatic switching between, the different cameras in the scene. When automatic camera is enabled, the user can select the Pause Duration, which is the time in seconds for which the camera will stand still before camera effect starts.
Animate Camera Transition is an option for animating the transition between different cameras in the scene. The Duration (seconds) is the time of the animated transition. In case of no animated transition.
Time before switching cameras = Pause Duration + Duration (seconds)
The user can select the camera effect to be Zoom, Roll or the two combined. The camera effect will take place for the camera effect duration.
In case the Automatic Camera option is not checked, the 3D PDF file will be exported with the scene cameras, but will not automatically switch between them.
The Preview Image group is available for the user to choose to include or not to include a preview image for the exported 3D PDF file. In case of selecting an image, it will be displayed when browsing for 3D PDF files, to help the user in selecting the required file. This image will also be displayed when the user first opens the 3D PDF file. The image can be a rendered view image of the model/scene.
|
|
|
|
|
|
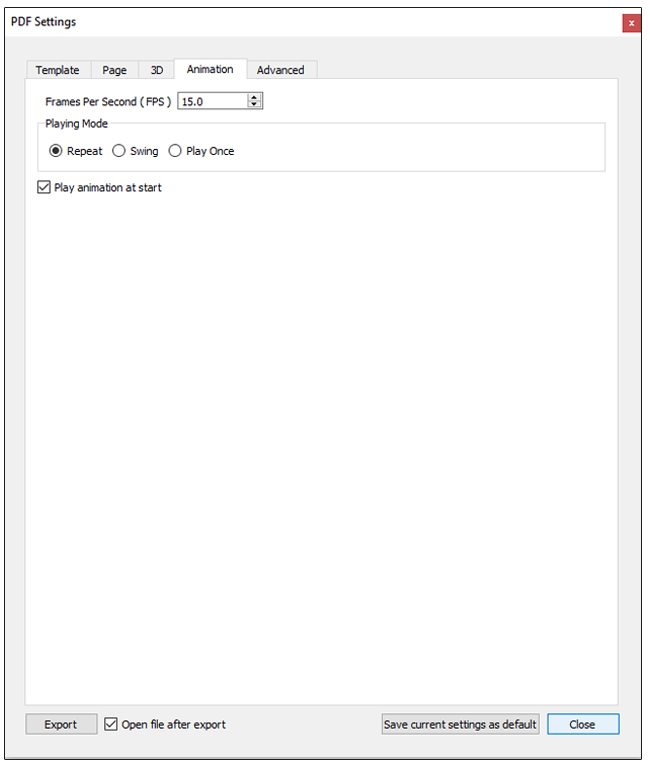
Animation Tab
|
|
|
In this tab SimLab Composer users can set the properties of the animation(s) in the exported SimLab 3D scene.
|
|
|
Playing Mode: is the mode to use when the animation(s) reaches an end. The Repeat option will keep on repeating the animation(s), from beginning to end, as long as the PDF file is open.
|
|
|
Swing option will keep on playing the animation(s), from beginning to end then from end to beginning, as long as the PDF file is open. The Play Once option will play the animation(s) only once.
|
|
|
 |
|
|
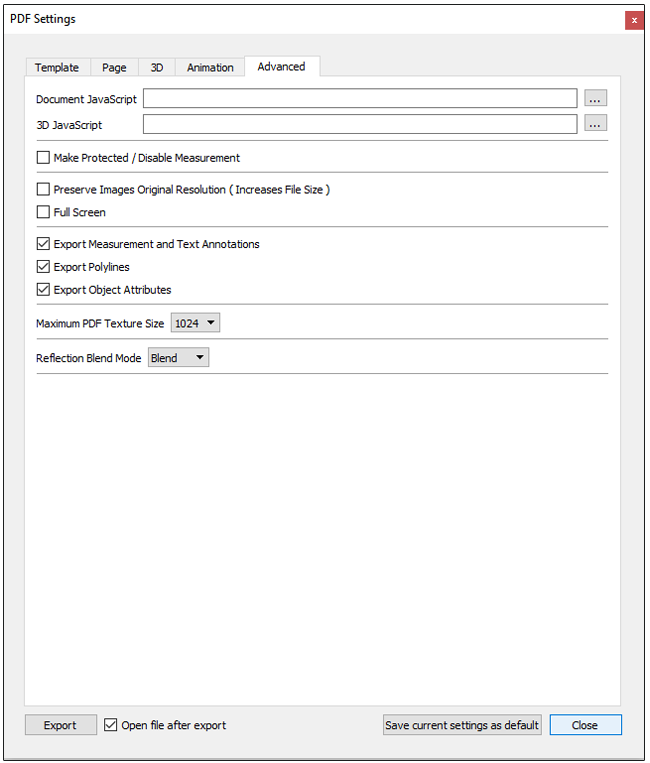
Advanced Tab
|
|
|
Document Java Script and 3D Java Script: Can be used by advanced users to insert Java scripts to control both, the PDF document, and the included 3D model. Java scripts can be applied to designed templates, to make specific actions. Details about Java script support in 3D PDF files can be found at: http://www.adobe.com/devnet/acrobat/javascript.html.
|
|
|
|
|
|
 |
|
|
Make Protected / Disable Measurement: This option is available for users to protect their exported 3D models, as it will prevent measurements of the model in the exported 3D PDF file.
Preserve Images Original Resolution: If the PDF template includes an image, this option when checked will preserve the image’s original resolution, and will increase the file size.
Full Screen: Check box; if checked will make the 3D PDF file start in Full screen mode.
Export Measurement and Text Annotations: Checkbox; when checked will enable exporting measurements and text annotations in a 3D scene to 3D PDF.
Export Polylines: When checked, 2D polylines in the scene will be exported.
Export Object Attributes: Object attributes defined in the Properties dialog, for any object, can be exported into 3D PDF files by checking this option. This can help designers communicate data with files’ recipients.
Open file after export check box: Will open the exported 3D PDF file.
|
|
|
3D PDF Export
|
|
|
After setting the different properties/settings for the 3D PDF file, clicking Export will open the Export Geometry window. The user can browse to the location to export the file to, and can input the file name.
After clicking the Save button, for 3D scenes with Scene States, the Manage Scene States dialog will appear. This dialog allows the user to check the scene states to include in the generated 3D PDF file, and the order of the scene states in the file, by using the up and down arrows.
|
|
|
For scenes with no Scene States, and which include multiple cameras the Cameras Manager dialog will appear. This dialog allows the user to order, rename, and select cameras to be included in the generated 3D PDF file.
|
|
|
Export with Android/iPad support
|
|
|
|
|
|
In SimLab Composer GUI, the Export Toolbar was expanded to have the Android/iPad button. This option extends the sharing capability of SimLab Composer by allowing the user to export a single 3-D PDF file which is supported and readable by multiple platforms using Acrobat Reader (PC and Mac) or SimLab CAD Viewer (Android and iOS devices).
|
|
|
|
|
|
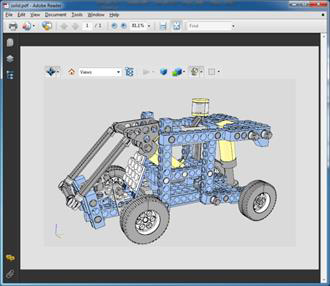
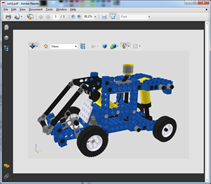
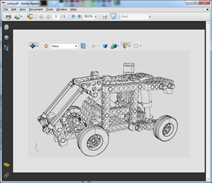
The images bellow show the same model using different render modes:
|
|
|
|
|
|
   |