

Learn
SimLab Composer
Simab 3D Products \SimLab Composer 2.4

|


|
Tutorial: Creating Assembly Manual
Scene States in SimLab Composer can be used
to show assembly steps of a product. In this tutorial we are going
to use scene states to show the assembly steps of a LEGO car. The
easiest way to show assembly steps is to start with a fully
assembled model, to hide parts of the model while capturing scene
states, then to reverse the order of captured states as shown in
this tutorial.
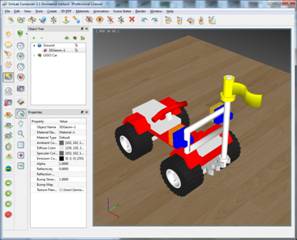
1. Start by creating a scene with a default 2D ground.
2. Click File -> Import or press (Ctrl + I) to import geometry. The Import Geometry window will open where you can browse for a 3D model file. Import the fully assembled model.
3. By default the model will be imported to the center of the scene, and you can zoom in using the mouse or by clicking Zoom To Object button, in the Main Toolbar.
4.
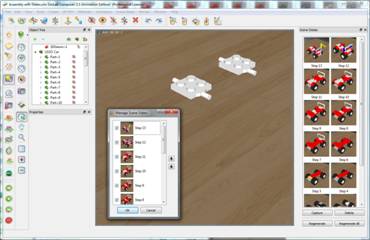
From the Scene States menu
select Manage Scene States, where its window will open on the
right of the application’s window. Click the
Capture
button in the Scene States window, the state of
the model will be captured and stored in the Scene States
window.
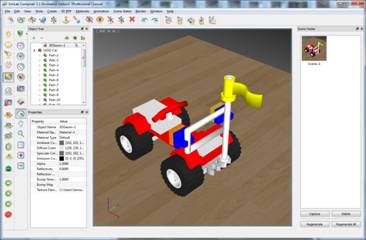
5.
Select both the yellow flag and its
pole and click the Hide button in the Main Toolbar, or
just press the H keyboard button, and then click the
Capture button.

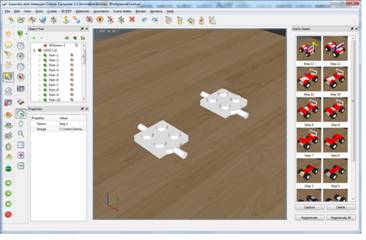
6. Turn the car around and continue hiding the pieces one by one, and continue capturing the different states until the last two pieces.
7.
Rename the states backwards form Step
1 until Step 13.
8.
Now we are going to output the
assembly as a PDF file. Go to File -> Export , and select PDF from
the Save as type.
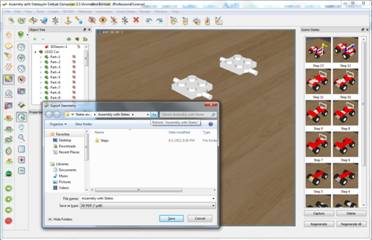
9.
After choosing the output file name,
the Manage Scene States window will appear to select the
order of the states before exporting them to the PDF file. Select
the states one by one, using the up and down arrows reorder them
then click Ok. The Exporting Geometry progress bar will appear for a
short period depending on the size of the file. The PDF file is
ready for sharing.
10.
The assembly manual is ready for
distribution.

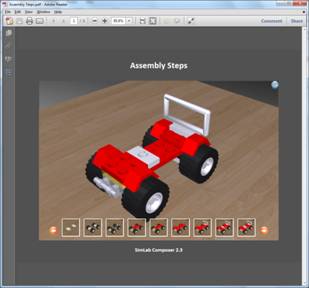
11. Using the 3D PDF file is simple, just
click on any of the states at the bottom of the PDF document and it
will appear in the 3D area.
12.
Another useful way of sharing the
model is by exporting it to iPad. This can be done by clicking
File -> Export to iPad, and the iPad export window
will appear. The file extension for the iPad files is *.zim, input a
name for the file, click save.
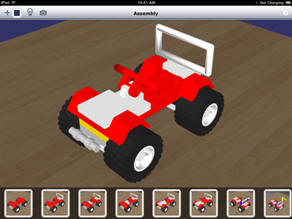
13. The generated zim file can be opened with SimLab CAD Viewer